Showing posts with label Sketch. Show all posts

Friday, September 2, 2011

Brothers

Welcome to the second day of our brand new Beary Sweet Challenge with this great sketch for us all to play with! I loved seeing Lori's lovely elephant card yesterday and I am so excited to have her join our team permanently!

My project using the sketch is as 12 x 12 layout using these great Windsor papers from SEI. I thought the colors perfectly complemented the sepia pictures of my boys together.


I wanted to include many of the beautiful patterns from this paper line and so I pieced together the background of my layout instead of using just one large paper. I left off the flowers in the top left hand corner as this is a boyish layout (although I do think these papers are not what you would call traditional "boy" papers-- just goes to show you can use anything!). So instead of the flowers, I used a chipboard flourish that I first inked and then spritzed with Glimmer Mist. I really love how the whole thing came together and I will definitely be using these papers again! (I'm thinking beautiful for fall wedding cards!)

Supplies used:

SEI Windsor line Designer papers (on sale right now, check out the incredible prices!)
Bo Bunny Double Dot cardstock-- Shitake (base)
Tim Holtz Distress Ink-- Vintage Photo
Tattered Angels Glimmer Mist-- Sun Sisters
Pink Paislee EXPRESSIONS Whimsies Cardstock Alphabet Stickers - Chocolate
Martha Stewart border punch
Colorbox Fluid Chalk-- Chestnut Roan

I can't wait to see what you make with the sketch so get those entries coming!

Friday, August 12, 2011

Are you a . . . .


BRAVE GIRL?


Well, sometimes I am and sometimes I'm not, just depending on what it is. But I know one thing for sure, I was nowhere near as brave when I was a little girl as my 7 year old daughter is. She'll try anything and shows no fear (and yes, I definitely realize this may not always be a good thing!) She is up for adventure of any kind and I have spent many moments this summer cringing as she rides her bike down hills, does front flips off the high dive at the city pool, being pulled on a tube behind a boat on the lake and her new love-- waterskiing-- which is the subject of my layout this week.


I am pretty sure I was at least 12 years old before I attempted to waterski, but not my daughter-- she outshone her older brother and several cousins by learning this summer and her usual comment was "Go faster." What a girl!


I stuck to the basic sketch for this layout but wanted to mix it up just a little from last week and so I tilted the sketch a different direction and then added three smaller pictures to the side of my main image. I used the fabulous new collection from Echo Park called Splash-- you have got to check it out! Kimm just got it in the store this week and it is perfect for summer activities of many kinds. I just love the bright colors. I did add some hot pink in the mat for my main photo and the letter stickers to make it a little more "girly." I used Element Stickers from the Splash collection pack to accent my page instead of the flowers on the original sketch and added Stickles for a little shine to my wave.


Supplies Used:
Echo Park Splash Collection Designer Papers and Element Stickers
Echo Park Summer Days Collection Designer papers (hot pink)
Stickles-- Turquoise
Glue dots
Misc. letter stickers
Misc. buttons


So go on, be a brave girl and do something a little adventurous this weekend! Or just spend a little time crafting and enter your take on our sketch in our current Beary Sweet Challenge.

Friday, August 5, 2011

Happy Birthday

Happy Friday to everyone out there! I hope you have enjoyed seeing the absolutely FANTASTIC creations the Beary Sweet ladies have offered up this week in conjunction with our new sketch challenge. We can't wait to see how you interpret the sketch!

My take on the sketch is a 12 x 12 layout using My Mind's Eye Fine & Dandy True Blue papers. I think these papers include some of my favorite color combinations ever and they were perfect for a picture of my 4 year old celebrating his birthday.


I loved this sketch and pretty much stuck right to it, except for substituting stars for the flowers since this is a boy-ish layout. All the accents are from the same Fine & Dandy collection-- buttons, brad, and trim-- I love it when they all come matched already!

Supplies Used:

My Mind's Eye Fine & Dandy True Blue papers
My Mind's Eye Fine & Dandy True Blue trims
My Mind's Eye Fine & Dandy True Blue Buttons
My Mind's Eye Fine & Dandy True Blue Brads
My Mind's Eye Fine & Dandy True Blue alphabet stickers

Colorbox Fluid Chalk-- Chestnut Roan
Miscellaneous brown letter stickers

Check out all the details for our current Beary Sweet Challenge featuring this sketch here-- we hope to see your entry soon!

Friday, July 8, 2011

Jamie's Christmas in July

Merry Christmas everyone! At least I hope you have enjoyed our Christmas in July projects this week and definitely hope you have entered your own project in our current challenge for your chance to win that great Christmas Magnolia stamp and some other goodies.

Here is my second go at the current sketch, this time a 5 x 7 Christmas card:

The base of my card is Bo Bunny Double Dot in a dark green and then I used the My Mind's Eye Lost & Found Union Square papers for the center. I trimmed the die cut edges from one of the papers and used those for my edges instead of punching my own fancy edge-- this worked perfect!

For my image I downloaded a FREE vintage Christmas graphic from this site: Vintage Christmas Images-- check it out for Christmas and lots of other vintage images. I added a bit of lace, pearls and a tiny bit of red Stickles (to match the glittered designer paper) to my Santa to dress him up before applying him to my card.

I used white seam binding spritzed with Brick Tattered Angels Glimmer Mist to go behind the Santa image and then tie the bow at the top and accented with some holly leaves and pearls. I absolutely love how easy it is to spray that seam binding to match any project! I am now totally out of white I have used it so much- time to restock!


You have one more week to enter your projects based on our sketch so time to get craftin' and good luck!

Friday, July 1, 2011

A Brand New Month and a Brand New Sketch!

Happy July everyone! I hope you all have something wonderful planned for the weekend and have a chance to do a little paper crafting too. We have a great new sketch for you to play with plus a chance to win some great Christmas in July themed candy. (Stay tuned until next Friday for my Christmas in July project using the sketch.) Click here for all the details on our current challenge and your chance to win the great Christmas candy!

My project today, though, is summer themed and looking at these pictures gets me in the mood for the holiday weekend ahead.


I used the sketch to make a double 12 x 12 layout simply by stretching it across two pages, running my scalloped border down the far side of each page and then adding 6 rectangles with bows instead of just the one shown in the sketch. Each rectangle contains one of my photos and I overlapped them a bit to get all six to fit.

I used the Summer Days collection from Echo Park for my layout-- perfect colors and accents for some fun summer pictures. Here is a littler closer look at my photos; I used seam binding for the strip behind and the bow and anchored my seam binding with staples and some decorator brads from the same Echo Park collection.


This was a great and simple sketch to use and I can't wait to see your creations so make sure to enter them in our current challenge and have a wonderful 4th of July!

Friday, June 10, 2011

Blast Off with Some Seam Binding

OOOoohhhh, I am in love with the new Seam Binding in stock at The Beary Scrap. It is versatile and comes in so many great colors! I had a lot of fun adding it to our sketch this week and using it to make my card blast off!


This sketch is just as versatile as the seam binding-- last week I used it to make a two page 12 x 12 layout and then this week brought it down to size in a 6 x 6 card. That's what I love about sketches-- they just jumpstart my brain and I can go anywhere from there!

I used Bo Bunny's Blast Off papers-- check out the cute 6 x 6 paper pads Kimm has in stock at the store, they are a great deal! I really like the colors of these papers-- strong, vivid colors that are perfect for boys but could also work for some cute baby or birthday projects.


Instead of trying to find embellishments to match, I just cut my own from some of the papers (the bigger rockets are from as 12 x 12 page I got locally). All this fussy cutting does take time but it's worth it in the end as the rockets and stars match so perfectly.

Rockets and stars just screamed out for glitter and so I liberally added Stickles to all my cut out embellishments. With all the colors of Stickles available, I had colors for all my stars. Then I popped up the rockets and some of the stars with foam squares for dimension.


For my last bit of dimension, I added that great seam binding, this time in white to simulate the cloud left by a rocket blasting off. It was so quick and easy-- just secured with some glue dots-- and really adds a lot.

Here's a quick peek at the inside:


Be sure to check out all the colors of seam binding Kimm has available and enter your own version of our sketch in the current Beary Sweet Challenge for your chance to win a $20.00 voucher to The Beary Scrap store.

Friday, June 3, 2011

How Sweet It Is. . . .

Hi folks - please check back Saturday, June 4th for our Beary Sweet winners. Thanks!


We have a sweet sketch for you this week and I have absolutely loved seeing the gorgeous cards Patricia and Debbie have made with it so far. But I have to admit, it was a challenge for me! I really wanted to make this into a two page layout as I haven't posted one for awhile and it took a bit of thinking and rearranging to adapt it to my sweet layout.

Here you can see most elements of the original sketch-- I just love the triangles, big and small, across each side:


Notice how instead of centering it on one page, I stretched the sketch across my two 12 x 12 pages and then here you can see how I expanded it a little further to include more photos:


I used the Alphabet Soup Paper Girls line and the colors were perfect for my pictures! The oranges and pinks precisely matched this fun little restaurant we went to in Las Vegas where everything is bright orange and hot pink, and the ice cream sundaes cost $15 but are huge and worth every penny!


Whether your take is a card or a layout, we can't wait to see what you dream up with this sketch! Make sure to enter it in our current challenge for your chance to win a Beary Scrap store voucher.

Saturday, April 9, 2011

The Sun Will Come Out Tomorrow

Hi there, It's Brenda again. I hope that wherever you are, warmer weather is starting to find you. I know here it has been hot, so I'm sure that means the weather is nice somewhere, right?

On this day last year, I was due with my daughter. And boy was I ever ready for her to come out (she ended up being 8 days late)! Since she was born, I have taken monthly pictures of her with these onesie stickers that have her age in months on them. She is generally pretty good-natured, but I always seem to try to take pictures when she is hungry or tired or both. Inevitably, each month I get a good crying picture, and this one was too cute not too scrap. She really does have the best pout.


For this week, I did the sketch with the added challenge of using pastels. What better way to use pastels than to use Echo Park's Springtime line? For the two background rectangles, I stitched in alternating color threads to imitate a rainbow. Then I filled in the rectangles with various-sized punched circles (.75", 1", and 1.5"). 

I then used the stickers from the Springtime line as my journaling space and little accents. The brad in the middle of the purple flower is from My Mind's Eye Lost and Found Madison collection. 

For the clouds and sun, I put my background cardstock (Bazzill) through my die cutter and then put two pieces of paper from the My Mind's Eye Alphabet Soup Boy collection to accent the cut out shapes. This could just as easily be done with paper punches. Then I stitched around the cut outs to further accent them. On the sun's rays, I put some Glossy Accents to give it a little depth and extra something. 


For the title, I used the alphas that come with the Springtime line. Aren't they adorable? And so versatile, too!

Extra supplies used:

Thank you all so much for looking. Please do join us in this sketch challenge! You have until 11:59 pm on April 14th to upload your projects. I look forward to being inspired by you all. 

Friday, April 8, 2011

Take Note of that Sketch

Happy Friday-- I hope a small bit of Spring weather is finding you out there! I am excited to show you my 2nd version of our current sketch-- for my project this week I have embellished a box for keeping greeting cards and I hope you can see the sketch in there somewhere (I promise it's there on the front :):))!


I have used the For the Record collection by Echo Park and I love these papers-- a little bit bright, a little bit vintage, with black accents, it's perfect! I used several of the sticker accents on the front, along with some lace and Prima trellis roses. My roses were originally white but I sprayed them with Tattered Angels Glimmer Mist in Brick to match the paper.


Inside I created dividers with different categories of greeting cards. Now it's all ready to fill up and organize some great handmade cards.


Now, it's your turn-- let's see how you interpret this sketch and enter it in our current Beary Sweet Challenge before April 14 11:59 EST. I can't wait to see your beautiful creations!

Friday, April 1, 2011

Our New Beary Sweet Sketch & Challenge

Welcome to April and our brand new Sketch Challenge! I am so excited to be able to be the first to show you my take on the sketch (I have never been the first one up before!)-- this was such a fun and simple sketch, I just let my imagination go and this is what I came up with:


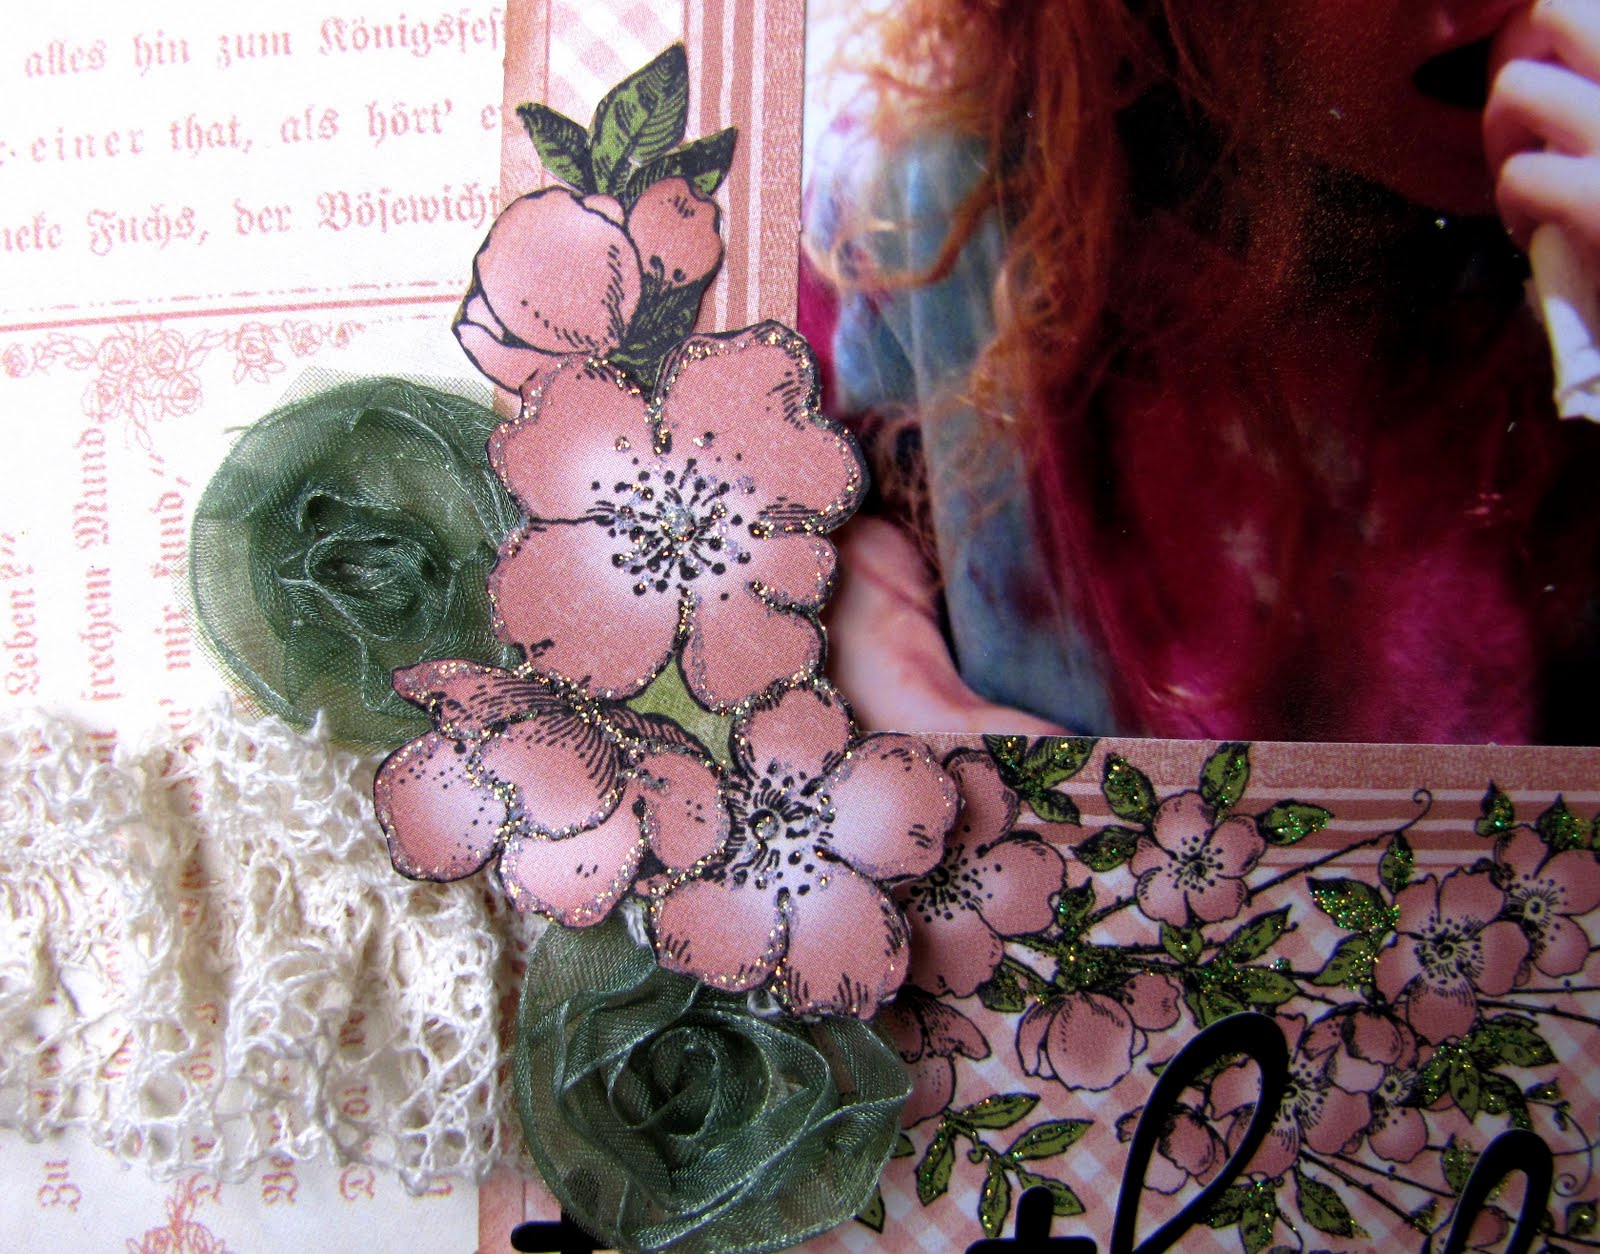
I used the "Once Upon a Springtime Line" from Graphic 45-- these papers are absolutely beautiful! I used several different sheets of the patterned paper plus some of the diecuts. I used one of the ready made framesto highlight my large photo of my daughter after she had lost a tooth and then cut up some of the other pages to add flowers and a fairy to my tooth fairy page.


I popped up the images I cut out with foam squares and then added lots of Stickles for some shine!


It was wonderful to see all the great entries for our March challenges, I hope to see lots for April too so be sure to enter your take on the sketch before April 14 at 11:50 EST. Good Luck!

Friday, February 11, 2011

Jamie's Sketch + Fabric

Are you feeling that long winter stretch yet? Cabin fever? Sick of the snow, cold and ice? Well that definitely must be what I am feeling-- it's been a week of sub-zero temperatures here in Idaho and so when I started looking for pictures to use this week, I was immediately drawn to these sunny photos taken last July in the old mining town of Virginia City, Montana. What I wouldn't give to put myself write into that sunny day, exploring a town in the mountains in a beautiful part of the country! Oh well, summer is going to come again someday!

I used these pictures on my Sketch + Fabric-- the element the DT has added this week. I was really excited to use fabric on a layout, this is a trend I am seeing a lot of on websites, blogs, magazines and in stores. So I raided my stash (my fabric stash takes up only one drawer into my entire craft room of scrapbook supplies!) and found this lovely green & brown piece to pair with Basic Grey Origins paper.

I tore the edges of my fabric to give it a frayed look though I have to warn you that this does not leave straight edges or a perfect rectangle-- so if you are a perfectionist who loves straight lines, tearing the fabric may not be for you. Then I machine stitched it onto my background of Bazzill Dotted Swiss cardstock and the Origins Designer Paper (which is a great price right now at The Beary Scrap store!). Stitching the fabric was trickier than I thought it would be-- I didn't adhere it before I started sewing and sew it slipped a little bit as I went-- next time I would definitely put it down with some Fabric-tac or Alene's Tacky Glue. But now I know!

Here's a close up of the fabric and stitching:


This was a great challenge for me and I will definitely be using fabric again-- I love how it turned out with a slightly softer feel to the page, which I think accents the lazy feeling of the summer pictures.

I hope you are working on your own version of our sketch-- make sure to enter it in our Beary Sweet Challenge before 11:59 EST on Feb. 14th for your chance to win. And stay warm, wherever you are!

Friday, February 4, 2011

A Frame using a Sketch

Happy Friday everyone! I hope you are all wonderful out there and that you are as excited for our Guest Designer Call as I am. I can't wait to see what you have in store for us and to have two of you join us in creating future projects. There are so many talented crafters out there, it's going to be so exciting! Make sure you check out all the details at The Beary Scrap Store Blog!

I have wanted for awhile to try using one of our Beary Sweet sketches to make something other than a layout or card. I just wondered how that would work but couldn't quite wrap my mind around it until this week-- then I finally found the perfect thing and sketch to try it out on!

And so here is my altered frame, with the right hand side being taken from the sketch.


First I painted the edges of the frame black with craft paint. Then I covered each side with My Mind's Eye Fine & Dandy paper from the Union Square paper line. I absolutely love these colors, and they just happen to match my bedroom perfectly, which is where I will be putting this little frame. I adhered the paper with good old glue stick but put a coat of glue on both the wood frame and on the back of the paper to ensure a good old. Then I inked around the edges with Tim Holtz Distress Ink in Black Soot.

Here's a view from the top so you can see the painted edges:


And here's a view of just the right hand side, which is based on the actual sketch, though I flipped it the other direction so that my bow would be at the far right edge. I added some KaiserCraft pearls in the top corner and made my bow out of ribbon and tulle with a decorative pin through the middle.


And there you have it, my experiment on converting a 2D sketch into a 3D project. I'd love to know what you think! And I'd love to see your take on the sketch so make sure to join our current Beary Sweet Challenge (remember, our regular challenge is separate from our new Guest Designer challenge and we'd love to see as many entries as possible in both!)

Friday, January 14, 2011

Something Sketchy, Something New

Here is my version 2 of our current Beary Sweet Challenge Sketch, this time with something "NEW" added to keep it interesting. This was a great sketch to work with and perfect for my daughter Lindsey's 7 year old portrait (isn't she cute? I know, I am biased!)

Last week I showed you the new My Mind's Eye Fine & Dandy True Blue line and this week I used the other side of the line, Tickled Pink, and I love these papers just as much as the boy ones! The colors are really bright and fun, plus they have that little bit of brown that is my go-to color. The embellishments include chipboard stickers and borders, awesome trims, brads, gems and the darling layered stickers (check out that bird in the upper left-hand corner, so cute!) This is a collection you just have to have-- girl or boy or both!


For my something "NEW," I have used some fabric on my layout. This is not something I do-- I do not like sewing very much and do not even have very much fabric so this was definitely new for me! I decided to make some "Yo-yos" to put on my layout and even though I know these have been around forever, I still want to give you a few instructions on how to do it, in case this is "NEW" for you too!


First, cut out a circle that is about double the size of what you want it to be when you are done-- you can trace a circle template onto fabric but trust me, it does not have to be a perfect circle because you are going to gather up all the edges anyway. So I just free hand cut mine and it worked great!


Next, use a needle and thread (a good strong thread that won't break when pulled) and take a running stitch all the way around the outside of the circle, working on the right edge of the fabric, with the back side facing down.


Now you pull your thread to gather in all the edges, it starts to look kind of like a tiny shower cap. Pull the thread tight until there is not a hole in the middle and then tie it off.


Finally, press the center of the "yo-yo"down flat with the now closed up hole in the center. Embellish the center with buttons, brads, jewels or whatever else you can think of!


That's it! Now you have a cute flower "yo-yo" to place on any layout or card. Adhere it with a strong adhesive such as Alene's Tacky Glue.

I hope you liked my sketch plus something new, be sure to take a quick minute and leave me (or any of the other DT members) a comment about our projects this week. We LOVE hearing from you and want to know what you think about our creations.

I have LOVED seeing your interpretations of our sketch and all the lovely projects you have been creating. You still have a little bit of time left to join our challenge, so link up your project by 11:59 EST TONIGHT for your chance to win a voucher to The Beary Scrap! And just a reminder, Kimm still has some awesome deals in her clearance section so take a peek and see what you need for your stash!

Friday, January 7, 2011

A Baby Book Sketch

Happy New Year and welcome to 2011 at The Beary Scrap! For my first post of this new year I am excited to show you my take on our sketch for the current Beary Sweet Challenge. I am working on a baby book for a friend of mine and used the sketch to make the title page for her album:

I used the brand new My Mind's Eye line Fine & Dandy True Blue (boy) and I love, love, love this cute collection. ( I have the girl line too so you'll be seeing it in my future posts as well!) The colors and patterns are so awesome and just perfect for boys of all ages-- I thought they were fun colors for a baby book-- definitely little boyish but not the traditional baby blue.

For this title page I also used some random ribbons, letter stickers and stars diecut on my Sizzix. And what could be more perfect for a darling little boy than Oliver the Dog?


I used Kimm's awesome Oliver pattern, mulberry paper and Tear Bear tools to make my little puppy and added him to the page. Over the next week, I will be posting other pages from this album one my blog, so come check them out for more baby book ideas and more looks at this great paper line, including matching buttons, brads and chipboard accents.

Now it's your turn and I can't wait to see what you come up with using this sketch-- remember it can be a card or a layout and entering it by 11:59 EST on Jan. 14th for a chance to win a voucher to The Beary Scrap.

Friday, December 10, 2010

Dear Santa,

All I want for Christmas is . . .

12 sheets of cardstock
11 Copic markers
10 bottles of Stickles
9 boxes of glue dots
8 packs of rhinestones
7 sheets designer paper
6 Tear Bear Patterns
5 ink pads
4 Magnolia stamps
3 brand new punches
2 Glimmer Mists
and
a sketch to play with!


Here is another Christmas layout based on our current sketch (I hope you all are also creating something with this sketch to enter in our challenge!


To create a double 12 x 12 layout this week from the sketch, I stretched it out over two pages, expanding and adding a few more elements (photos) and quickly drew out my own version of the original design:

My Mind's Eye Holly Jolly paper was just perfect for this sketch as I could use the Santa paper and leave Santa as one large element on the far right side of the paper (I love the Vintage look of this Santa plus the beautiful deep red, greens and browns of the paper!)

Taking my inspiration from Susan's card that used this paper a few weeks ago, I added some Lime Green and Christmas Red Stickles to my Santa to give him a little shine. Replacing the snowflakes that were on the original sketch, I have used holly leaves cut from a good old Sizzix die in the two corners of my layout.

I wanted my die cuts to have a little dimension, so I actually cut out two for each holly leaf, inked both edges with Vintage Photo Distress Ink by Tim Holtz, adhered one to the paper and then popped up the second one on top of the first with a foam square. Then the top leaves are edged with more Lime Green Stickles and finished off with rhinestone "berries." I also added a few die cut shapes from the Holly Jolly Accessory sheet (SANTA letters, tickets and December calendar).


You've seen lots of great examples of this sketch in the last two weeks and now we can't wait to see yours! Make sure to enter our current Beary Sweet Challenge before 11:59 EST on Dec. 14th for a chance to win a $20.00 voucher from some sweet goodies from The Beary Scrap. Maybe you can get some of those scrap goodies that are on your Christmas list!

Friday, December 3, 2010

A Beary Sweet Snowflake Sketch!

I'm dreaming of a WHITE CHRISTMAS-- and Susan must have read my mind as she has provided us such a great way to start off to December, with this very sweet sketch, complete with lovely snowflakes and swirls for a wintry day. (Though you could substitute anything you want for those snowflakes!) I was so excited to work with this great sketch.


I used the new Midnight Frost line from Bo Bunny and some of my Christmas morning pictures from last year (no, they are not all scrapbooked yet, I better hurry up before I have new Christmas morning pictures!). I rotated my sketch clockwise 45 degrees and came up with this single 12 x 12:


These Midnight Frost papers are gorgeous-- with dark blues, purples and greys and already have those great swirls worked right into the pattern. I used both dark blue (Faded Jeans) Distress Ink from Tim Holtz and silver ink to edge all of my papers and even used my brand new Marth Stewart around the edge Snowflake punch for one of them. These punches are really fun and add so much. They are also very easy to use!

To add the swirls from the sketch, I traced some swirls on using a stencil and then handstitched them which did take a bit longer but I think was definitely worth the time, I love how they turned out!


Now it's your turn, I was so impressed with all the entries we had for our last challenge and absolutely loved looking through all your beautiful projects! So I hope you'll join us again and enter your project based on this sketch by 11:59 EST on Dec. 14th-- you just might win a voucher from The Beary Scrap and what better way to celebrate the holidays than with a few scrap goodies for you!!!

Friday, November 12, 2010

Don't You Love these Colors?

I was so excited to work with these colors--- apple, pear and pumpkin-- doesn't it sound yummy? I absolutely love fall colors and these just fit perfect. Plus, I got to use that great sketch again but I decided to keep it simple this week and make a card instead of converting the sketch into a scrapbook layout. And so, I think for the first time ever, I have a card to show you!


With that theme of keeping it simple, I have only used Bo Bunny's Double Dot Cardstock this week instead of patterned paper. However, I must have had Granny Smith apples on the brain, because when I started working with my papers, I ended up with these colors and no red. Oh well!


I made one of Kimm's original Tear Bears for the front of the card and then created a pumpkin for him to hold. I made the pumpkin by punching three ovals out of the Double Dot cardstock, adhering two of them together and then placing the third on top. Topped off with gems and a flower, I think it's a pretty cute pumpkin for a cute bear!


I finished off the front with some more gems, some light green Prima flowers and my sentiment. It's all ready to go to show someone how grateful I am for them this Thanksgiving season.


We want to see your interpretation of our sketch to make sure to enter our current Beary Sweet Challenge by 11:59 EST on Nov. 14 for your chance to win some great goodies from The Beary Scrap!
Related Posts with Thumbnails